Patchwork Pillow with Zipper Closure

Taking advantage of the fun summer fabrics at Sew on Central, I redesigned my pillow cover pattern to also include a zipper closure.

I do still like the simplicity of an envelope closure, but a zipper does make the pillow more tailored and reversible.

And, learning how to install a zipper is always a great skill for my sewing students to learn.

Can I just say that, while these sunshine faces are totally adorable, the confetti fabric is my favorite—I’m dying for a cupcake with sprinkles now!

P.s. all my classes are on my Workshops page.

Continue reading “Patchwork Pillow with Zipper Closure”

New Nephew, New Blankie

About a month ago, my family was blessed with a new member . . . my nephew! Totally adorable and full of energy that’s keeping his parents completely exhausted, of course. I couldn’t resist the opportunity to sew him a cute and cozy blanket.

When my daughter was an infant, we received so many gifts of receiving blankets. At first we thought “what are we going to do with all these thin, little blankets,” but boy oh boy they turned out so handy to have around. You can swaddle your baby with them, use them as a clean spot for them to play on the ground, keep them warm in their car seat, or use them as an impromptu place to change a diaper. So, I decided a non-quilted, receiving blanket was the best gift I could offer.

I found a sweet, contemporary pattern with bears, foxes, and trees in blues and greens and paired it with a solid blue and a green gingham. For the back, I used a blue flannel that is super soft and suede-like. As an extra feature, I added a couple of grosgrain ribbon tags that are perfect for tickling chins and cheeks! Perfect!

Big Old Place Mat

I created this oversized place mat–or mini quilt–to cover exactly the top of my nightstand.

I used a combination of cotton solids and scraps of some current favorite patterns.

There seemed to be enough color and pattern going on with the fabric choices that for quilting I did simple lines 1/2″ apart.

And while I could have done this freestyle, I decided to take a very exacting approach to get everything just as I envisioned it.

And this project also gave me a chance to practice my machine binding skills.

In between sewing projects, I’ve been spending time working with watercolor paints and pens.

It’s a good opportunity to try out color palettes in a different and very unstructured media. I’ve been taking guidance from @creationsceecee if you want to try for yourself!

December 2020: totes and bags

At the risk of repeating myself, I find that fabric itself can serve as inspiration for me when I’m stumped on what to make.

This vibrant, bold pattern in a black semi-circle with blue accents on white was just the print to get me going for this birthday gift.

I used it to make my own design of a simple shopping tote complete with an inside pocket big enough for a phone or wallet.

Next up was a little something for myself that would feature this fabric with a graph paper pattern.

I love this fabric and want to make so much more with it.

Psst—I’ll let you in on a secret—when I was a kid I was obsessed with office supplies. I know, what a dork! But this fabric warms that part of my heart perfectly.

The whimsy of this botanic pattern is balanced by a neutral palette and works well for this small zippered pouch.

A boxed bottom ensures it stays open and a small looped handle makes it easy to close.

Coordinating fabric in a solid gray and a subtle textured pattern complete the palette for this project.

But back to graph paper… how can I work more of it into my life?

It took me a little while to figure out how I wanted to construct this, but I finally settled on this solution to keep my sketchbook and pens together.

One side has a pocket for the book with a button and loop closure. While the other side has a zipper to keep all the pens and pencils and eraser in place.

The loop for the book also functions to hold the zippered flap open, with a second button, to make the pens easy to access. Sewing a zipper around a curve is a nightmare, but I really like the resulting project and use it every day.

Foundation Paper Piecing Simple House

To get away from overlay planned projects, I broke out my paper foundation piecing simple house design and turned it into a quilted pillow.
I start with the house design printed on cheap copy paper and a selection of my favorite quilting cotton.
All the pieces are sewn wrong sides with the paper and the sewing is done along the lines of the design, following each number in sequence.
After the sewing is done, I spray the paper with water and peel off the paper. Any little bits that remain get washed away when the finished project is washed.

The finished block can be added to any sewing project.

I turned mine into a pillow front and quilted it using traditional machine quilting methods.

And there it its . . . a quilted pillow using my favorite fab fabrics!

August Color

fullsizeoutput_2716

This pillow cover took a while for me to work on, but it was enjoyable the whole time. It’s made from quilting cotton strips that started out as 1.5″ wide by 3.5″ or 5″ or 7″ long. I used shades of teal, blue, gray, and white for the outside and shades of yellow and gold for the inside.

fullsizeoutput_2715

After completing the top layer, I sandwiched it with cotton batting and another layer of quilting cotton. For the quilting, I chose to echo the long seams by 1/4″. I used a blue thread for the blue/gray areas and a gold thread for the yellow/gold areas. Pillows are such a great project for me because I get a substantial amount of area to design and quilt, but they’re not such big projects that they take too long to hold my interest.

fullsizeoutput_2710

After finishing my weaving samples at the Chicago Weaving School, our teacher Natalie helped me set up my rigid heddle loom to create a design from Handwoven Magazine. This is supposed to be a set of kitchen towels, but I can’t imagine working this hard on a project just to wipe my wet mitts on it! So, I’m going to turn it into a winter scarf, or a pillow cover. New for me is the experience of working with a very thin weft thread to allow the warp threads to really take center stage. As well, inlaying the rectangles along the right half is a new skill that I’ve enjoyed incorporating into the project. Almost done and I can’t wait to see the final project. You can see the process here @maxandwolf.

See you next month!

One Work in Progress and One Finally Finished Project

img_8742

What’s this one going to be? Well, I’m not sure, but I know it’s going to be colorful. The repetitive nature of cutting out fabric all the same size can be soothing.

img_8763

It allows for the gentle progression of a project without a ton of hard work. But it could be fairly boring if it was done in all one color.

img_8747

I thought this combination of color was very punchy—a soothing palette of blues and grays interrupted by a core of strong yellows. Most likely this will be a pillow…cutting out all those strips might be soothing but I have my limits.

img_8772Finally, after four months, the Chicago Weaving School was able to reopen, although to a much smaller class size. The sampler I had been working on was abandoned on the loom when we all had to shelter in place back in March.

img_8037

But it was still there on the four shaft table loom just as I had left it. And I finally got to finish it and bring it home.

img_8765

I knew that as a sampler with lots of mismatched designs and colors, I probably wouldn’t want to use it as is. And after wet finishing it in the washing machine, the finished dimensions were just enough for several small projects.

img_8766

The first of which is an insulating sleeve for the large glass I drink hot tea from. I layered the wool woven sampler with Soft and Stable batting and a narrow piece of quilting cotton. I joined the two ends with two wide bands of elastic.

img_8767

I try to avoid hand-sewing at all costs because I think I hate it. But it turns out that it was much simpler, and faster, to finish the last seam by hand instead of trying to cram it under the sewing machine. I guess I don’t hate hand-sewing.

img_8771

And now I get to peak at all the different weaving techniques I learned over several weeks while sipping my black tea every morning. Tomorrow the loom gets warped with a new project and I’m so eager to learn new techniques and start a brand new textile!

Sew-up September

img_0056

Funny, I always have the feeling that I could be doing more sewing, or some other creative pursuit, but because I write blog posts on a month-in-review basis, the process gets me to realize that I’ve done a lot more than I thought when I look back over the past 30 days.

img_0058

This month was my company’s annual gala and, of course, one wants to look nice for it. I rarely have the need to wear a suit, so I only have the one. But I find an easy way to make it different, and to inject some creativity into the outfit, is sew-up a new bow tie.

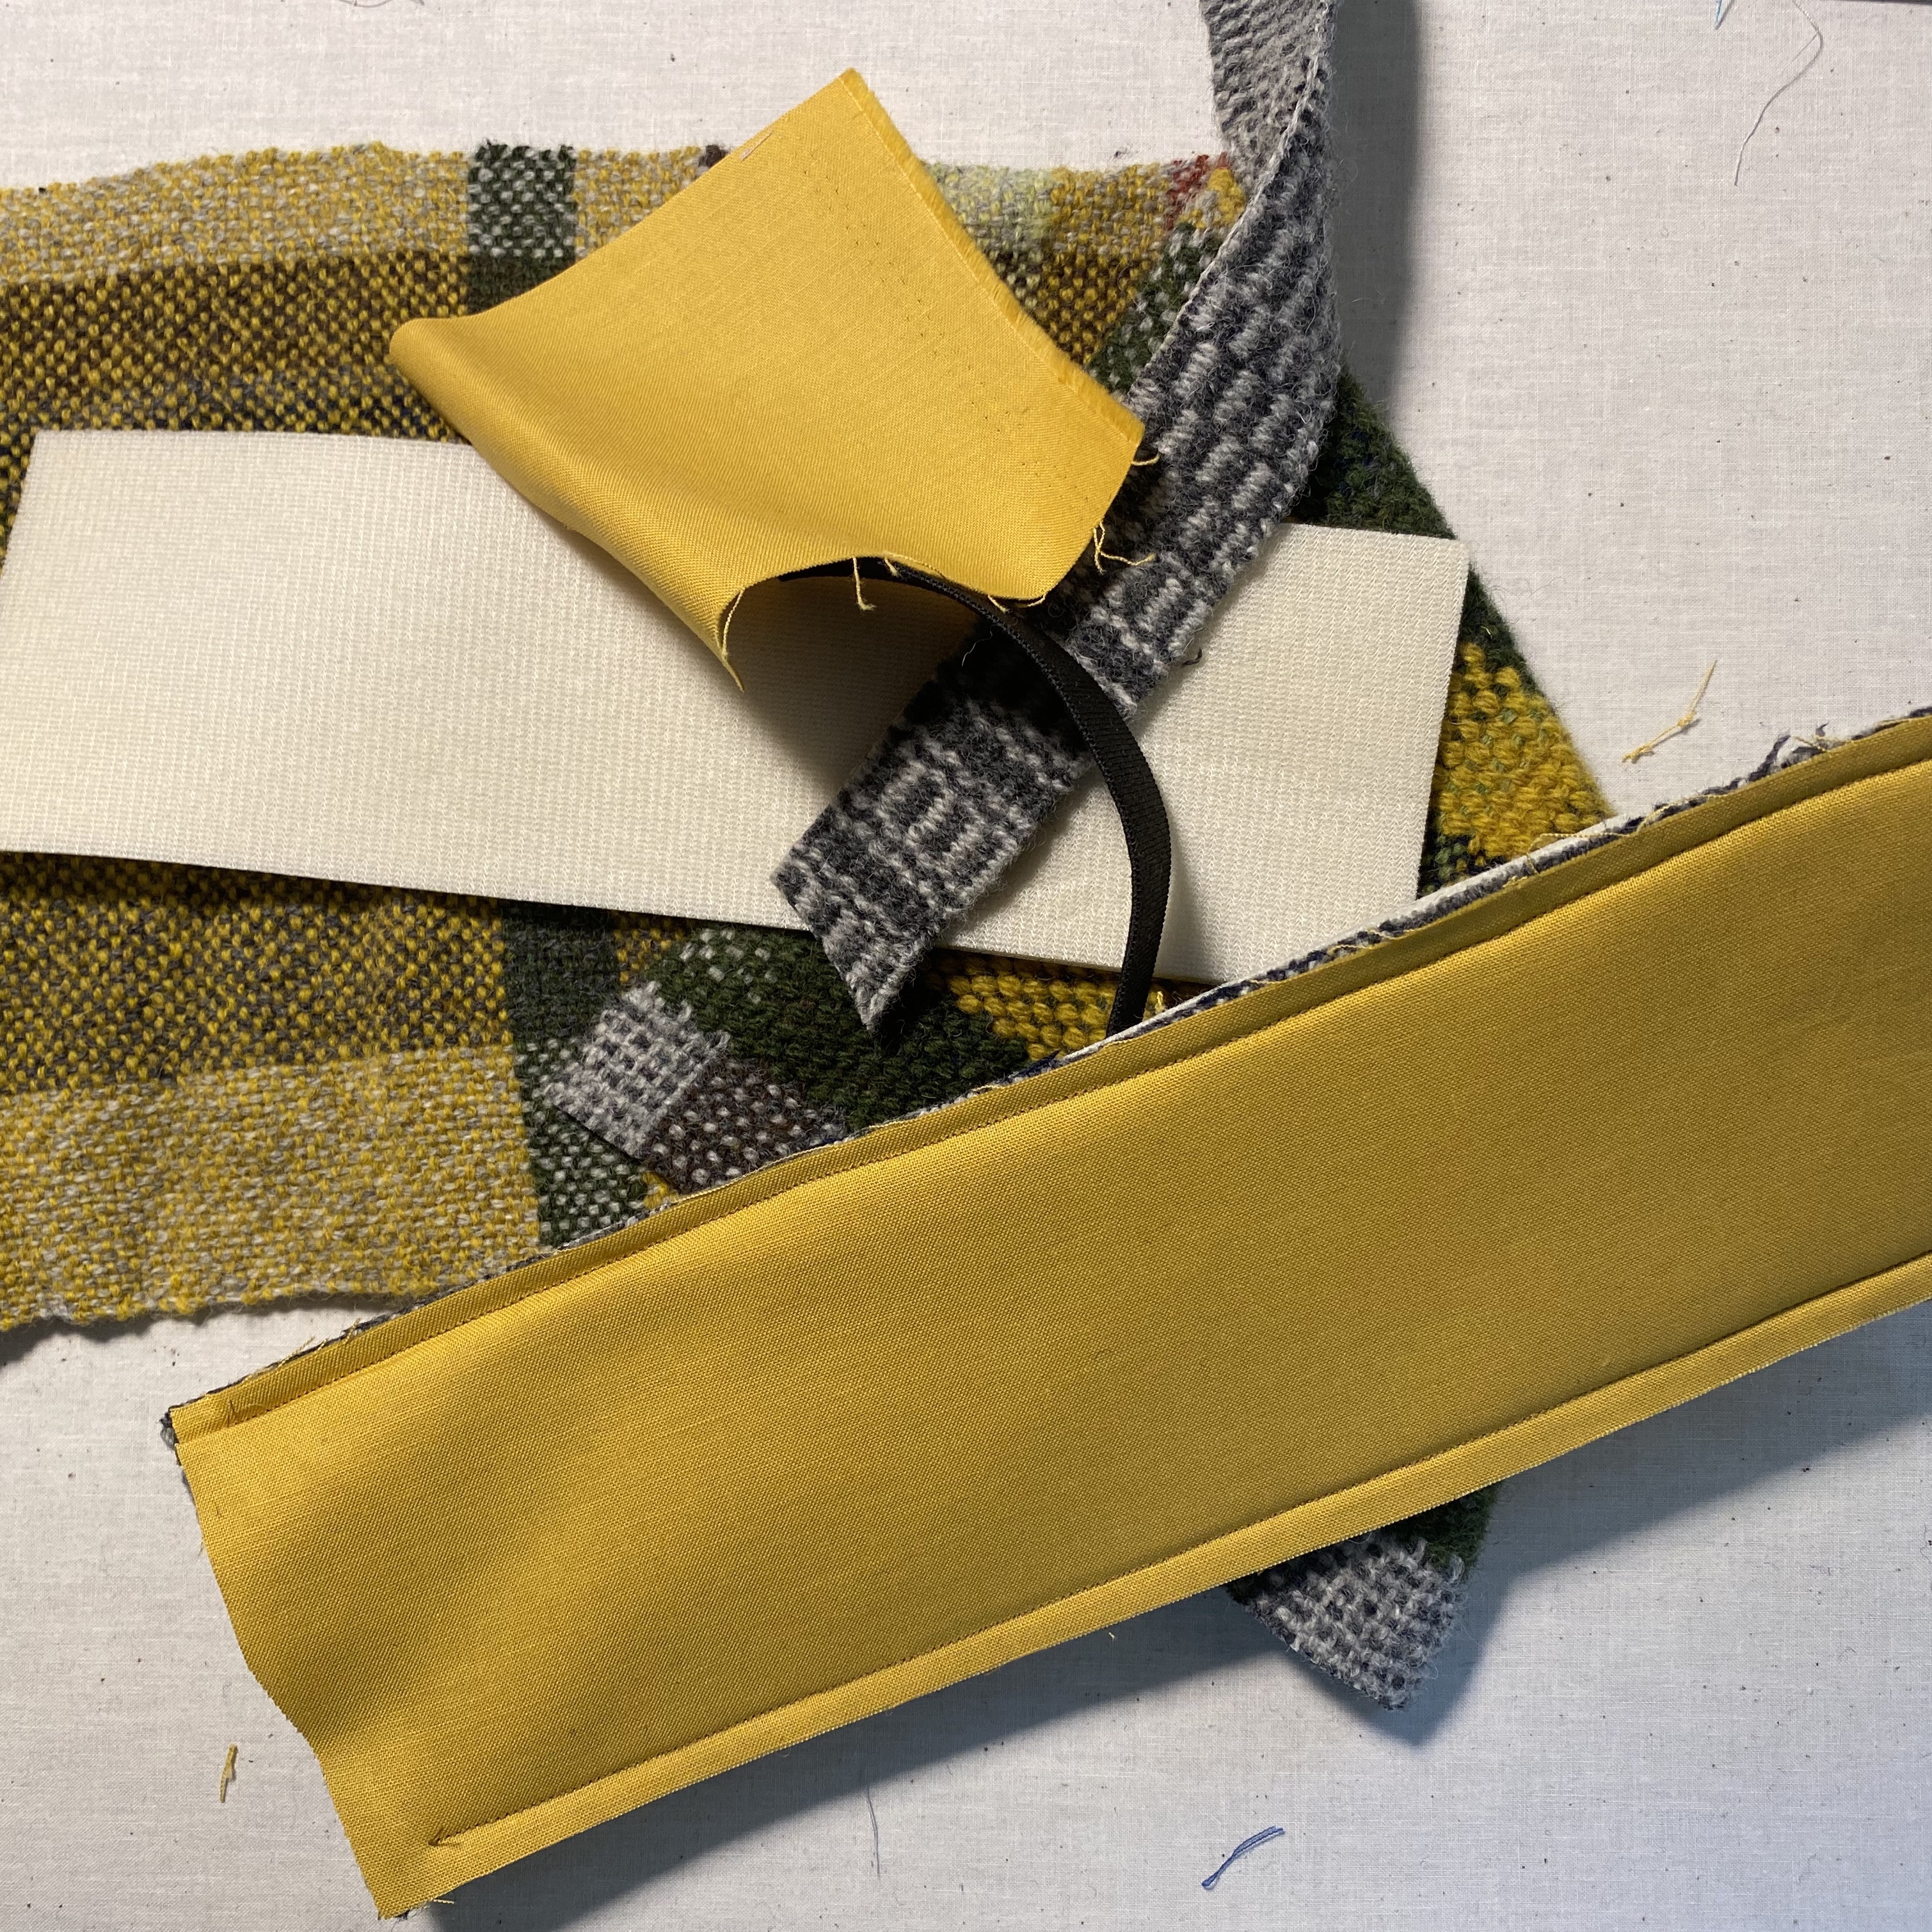
I found this zingy black and white cotton fabric in my stash and had just enough for the tie. I reinforced the fabric with SF101 stabilizer and cut out the hourglass shapes. While constructing the tie, I sew the front into one long piece and leave the back as two pieces. I sew the front and back together, right sides together, and use the opening in the back to turn it right sides out. This is the most difficult part as I’m squeezing all the fabric out through the narrow opening on the back. After that’s done, and the tie is pressed, I top stitch the opening on the back closed. Now I just have to give myself enough time to tie the bow tie on!

img_0063

I finally got to do something this month that’s been on my list for a while. I took a mini-class in loom weaving!

img_0061

The Chicago Weaving School has a great two-hour weaving class in which you select a loom that has been pre-warped so you can jump right in with the weaving. They have about 10 looms ready to go, warped with different threads. The one I chose had an oatmeal colored wool with random gaps in the warp.

img_0062

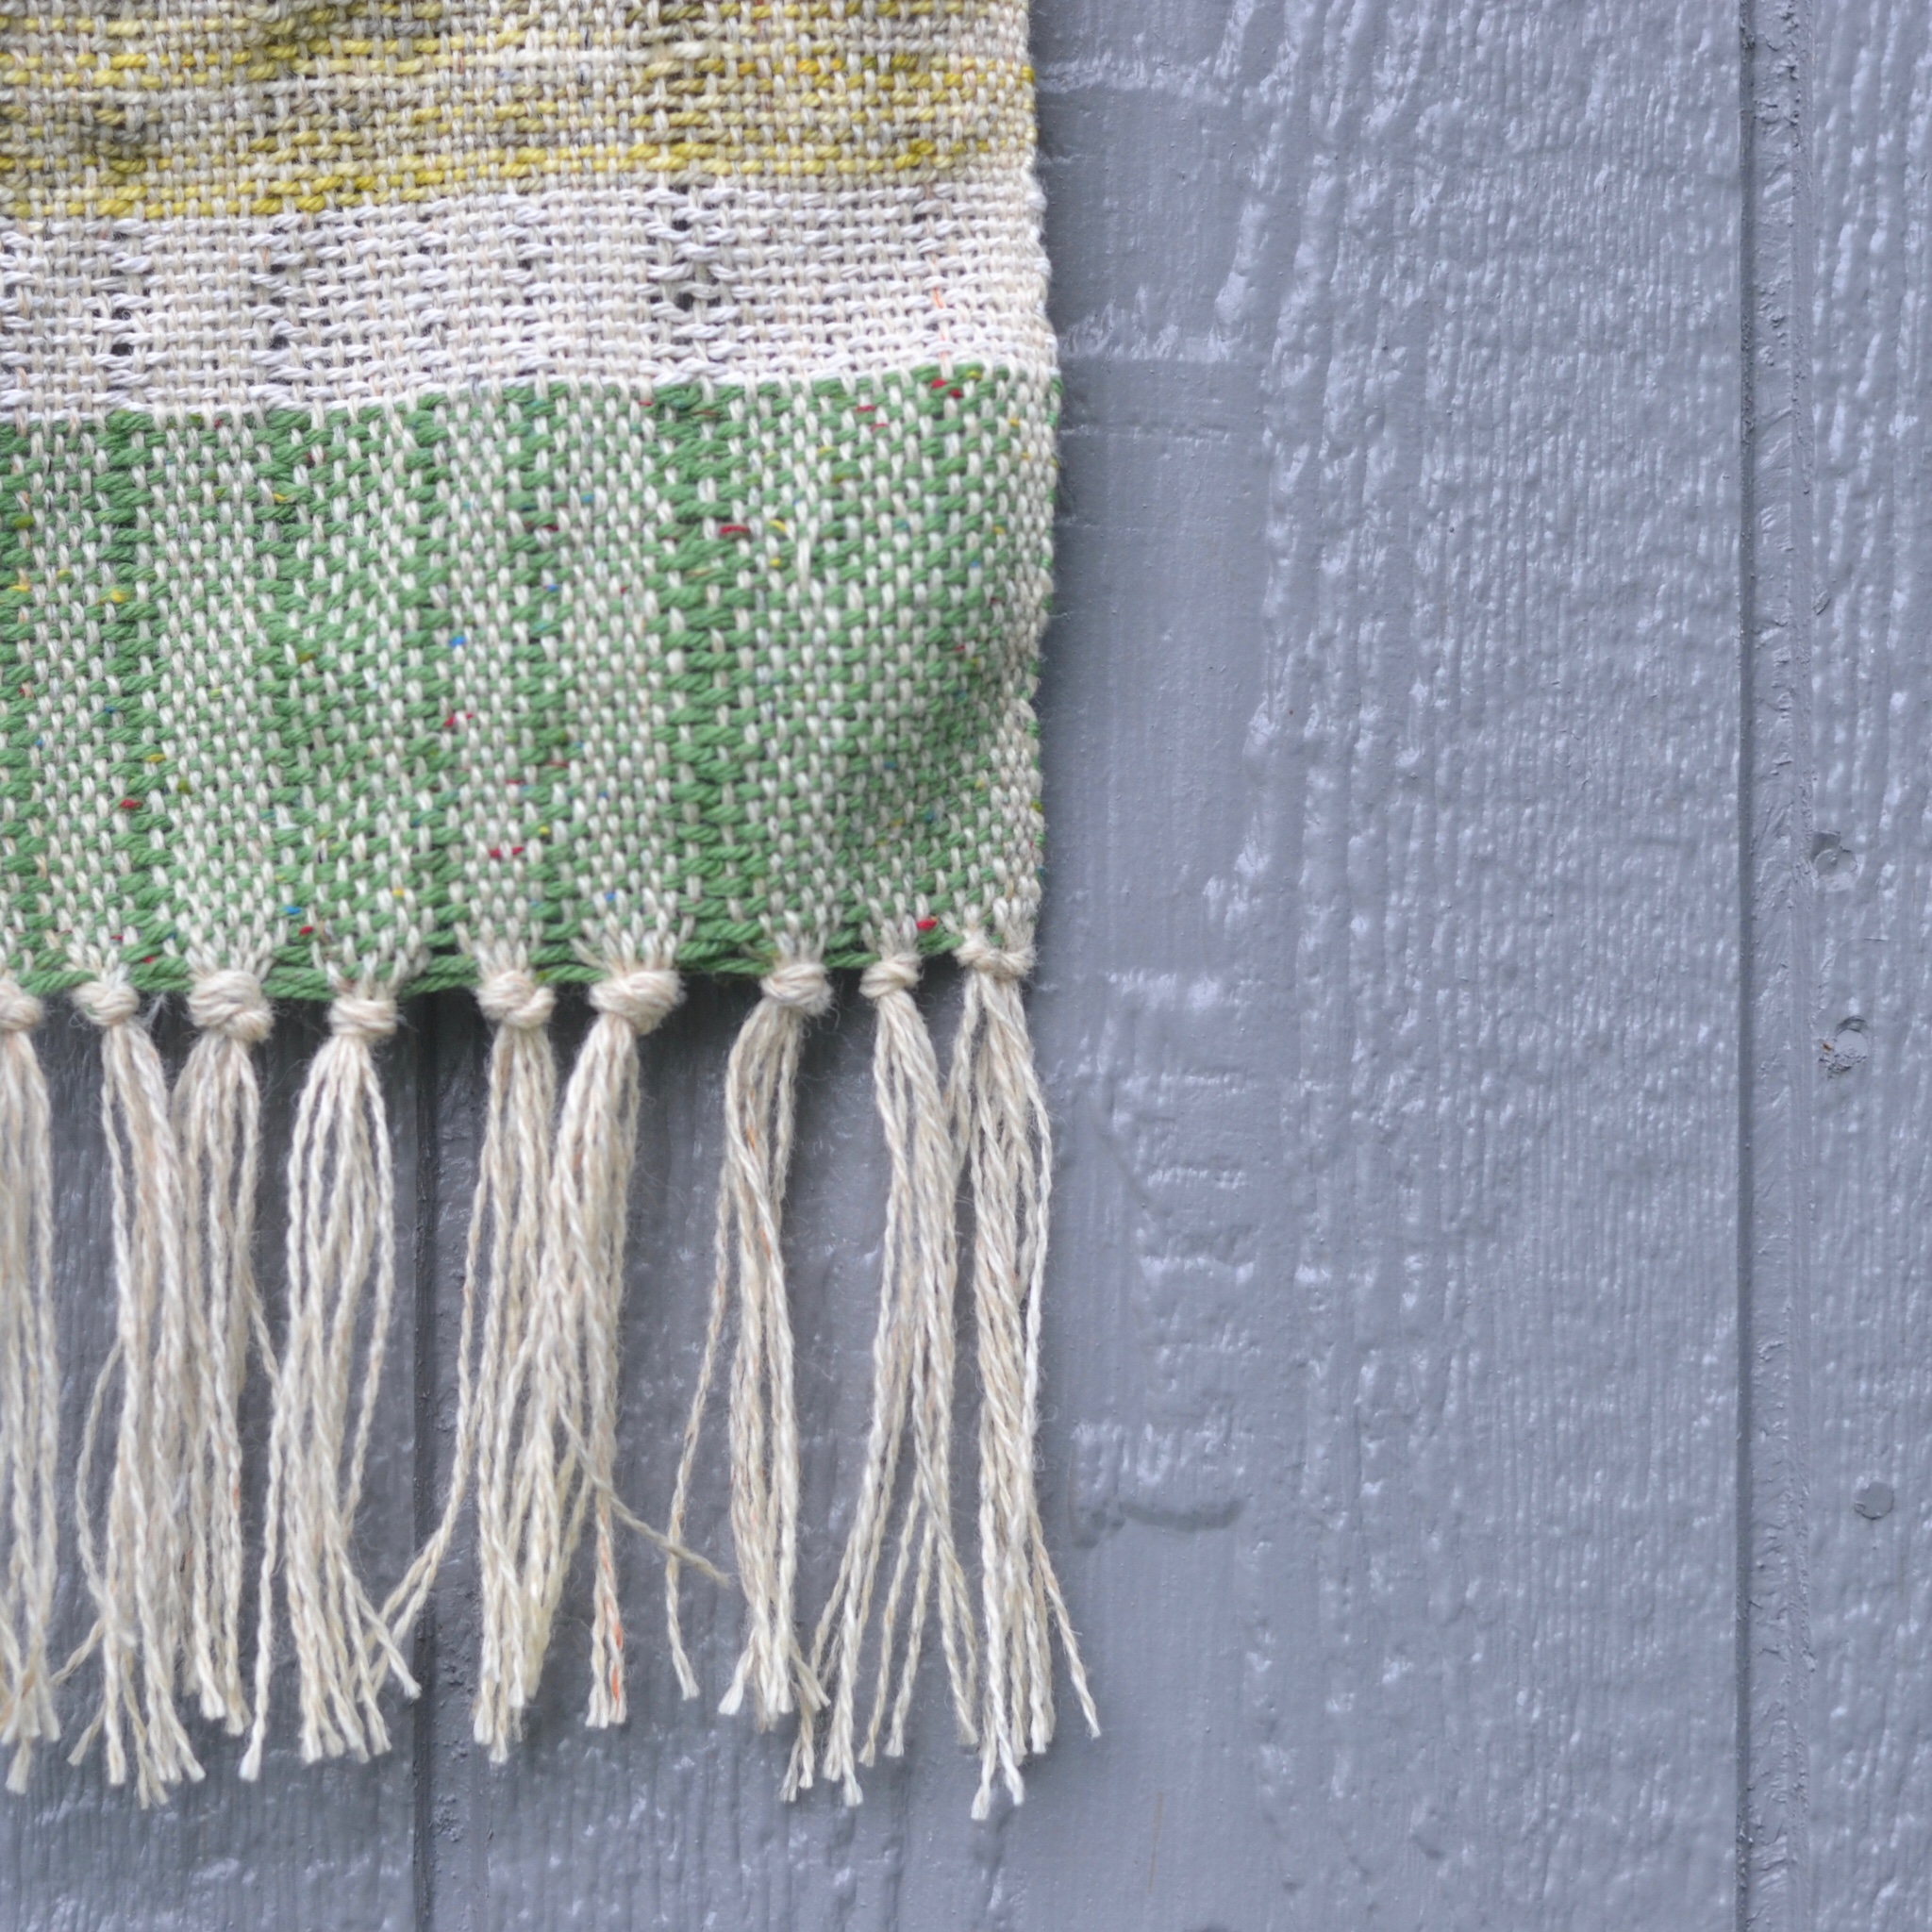
After I selected a few colors of weft threads, I was on my way.

img_7022

img_7024

The loom was freestanding and the heddles were operated with foot pedals. Things got a little wavy with the yellow thread, but when all was said and done, I had a nice sized piece of cloth. And now I’m hooked! There will probably be a loom in my workroom by the end of this year.

img_7016

I got an interesting call this month. A friend of a friend commissioned me to sew a drawstring bag to hold a jewelry box as a baptism present. What I didn’t realize until after I agreed to do it is that she wanted it sewn out of her wedding dress! Eeek…you want me to cut up your wedding dress?

img_7017

After she assured me for the 20th time that yes, I was to cut up her dress, I went ahead with the plans.

img_7018

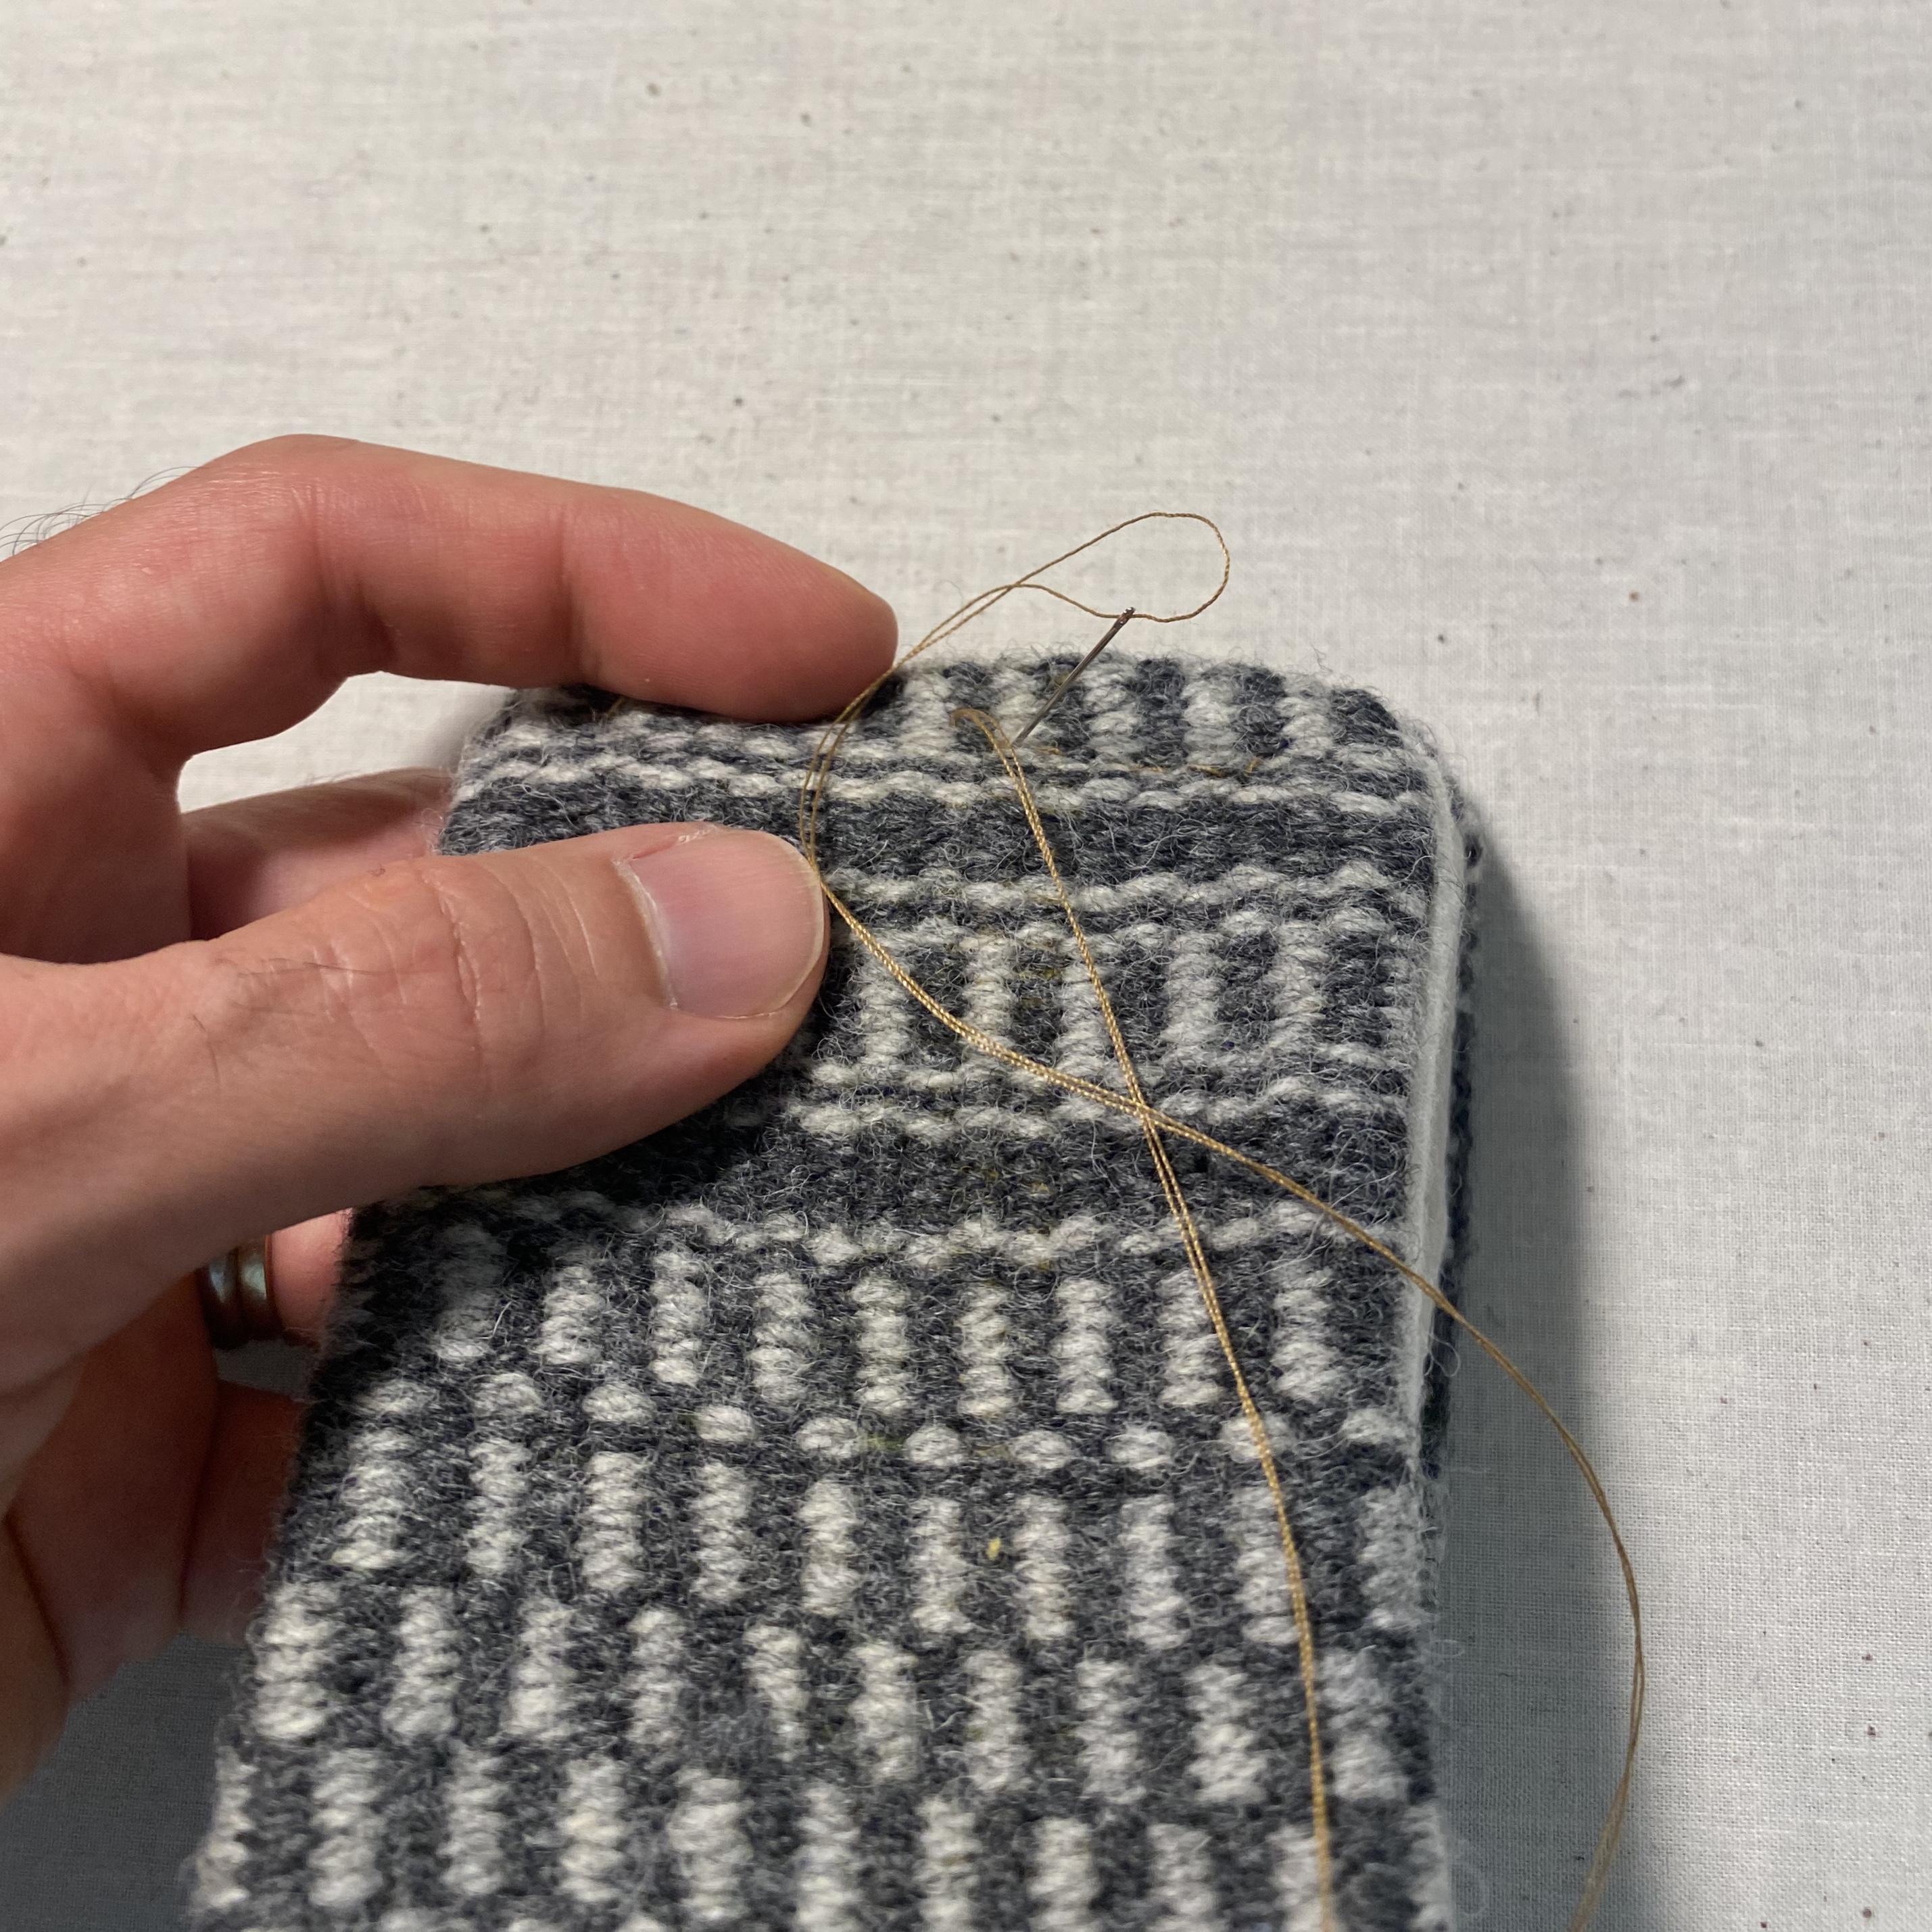
While sewing a drawstring bag out of quilting cotton is a breeze, sewing one from lace is a bit trickier. It took me a while to figure out how to hide the seems, when the lace is so open and can reveal all.

img_7019

I was talking about the dilemma with my husband, who does not sew, and together we came up with the solution. Quite simple, in fact. I sewed the lace and lining together to make the exterior “fabric” and used an additional layer of lining for the actual bag lining. Doubling up the lace and lining essentially made the lace solid. I used satin spaghetti strap for the drawstring as that was the best match both in texture and color. The bag was a success and the customer was thrilled with the result.

img_0064

In the midst of all this project sewing, I found some time to just sew for fun.

img_6982

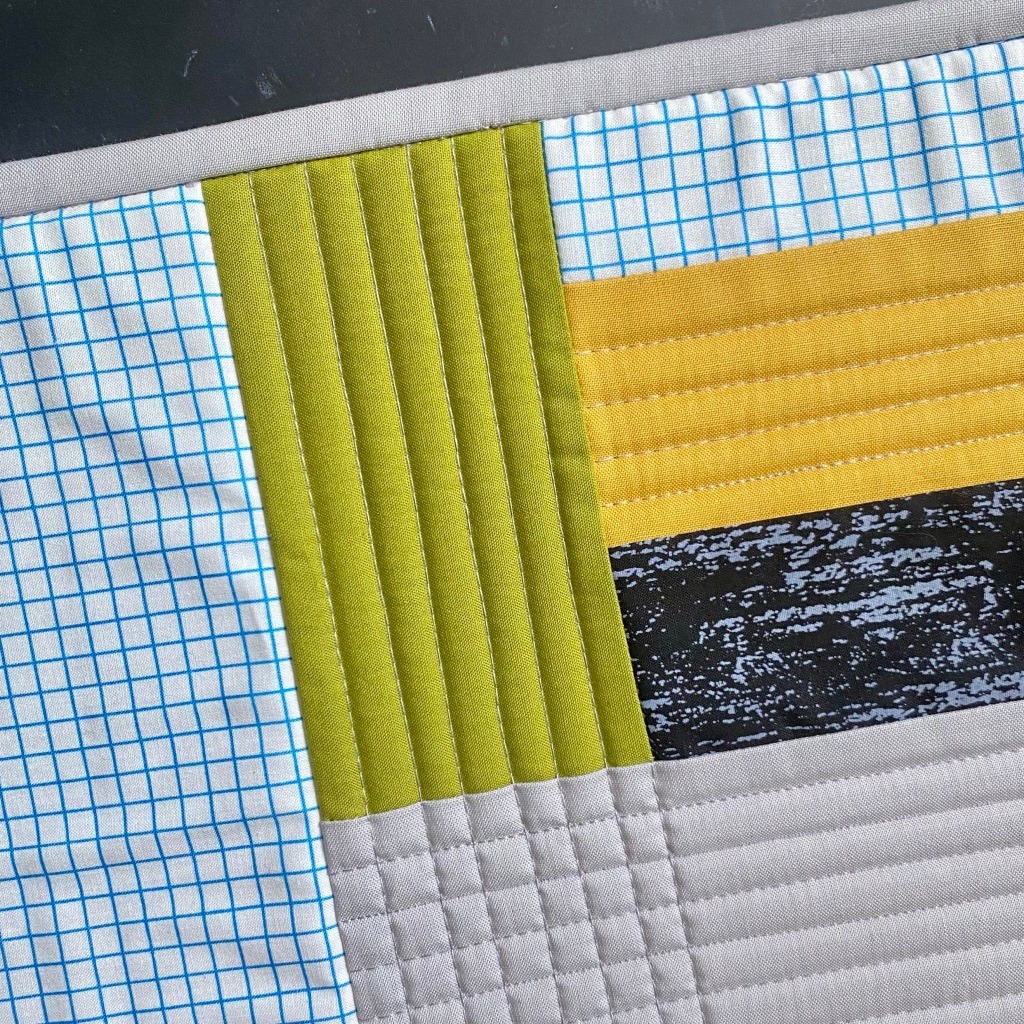
I saw a short documentary about Anni Albers and was inspired to make this quilted pillow. Now, I’m not saying it looks like Alber’s work, but just the application of color and form in her pieces inspired me to approach this pillow in this way.

img_6971

While most projects start out with a set plan, for this pillow I decided to just cut squares. And then just piece them together. And just pull colors in whatever order felt right. And then stop when the strips were long enough.

img_7010

And while I knew the size of the pillow it needed to cover, I didn’t want to put to much planning into it. It took days, sometimes only working on it for 15 minutes at a time. But I find that it’s nice to have a project waiting for me in the workroom. Helps draw me back in and gives me something to look forward to.

img_0067

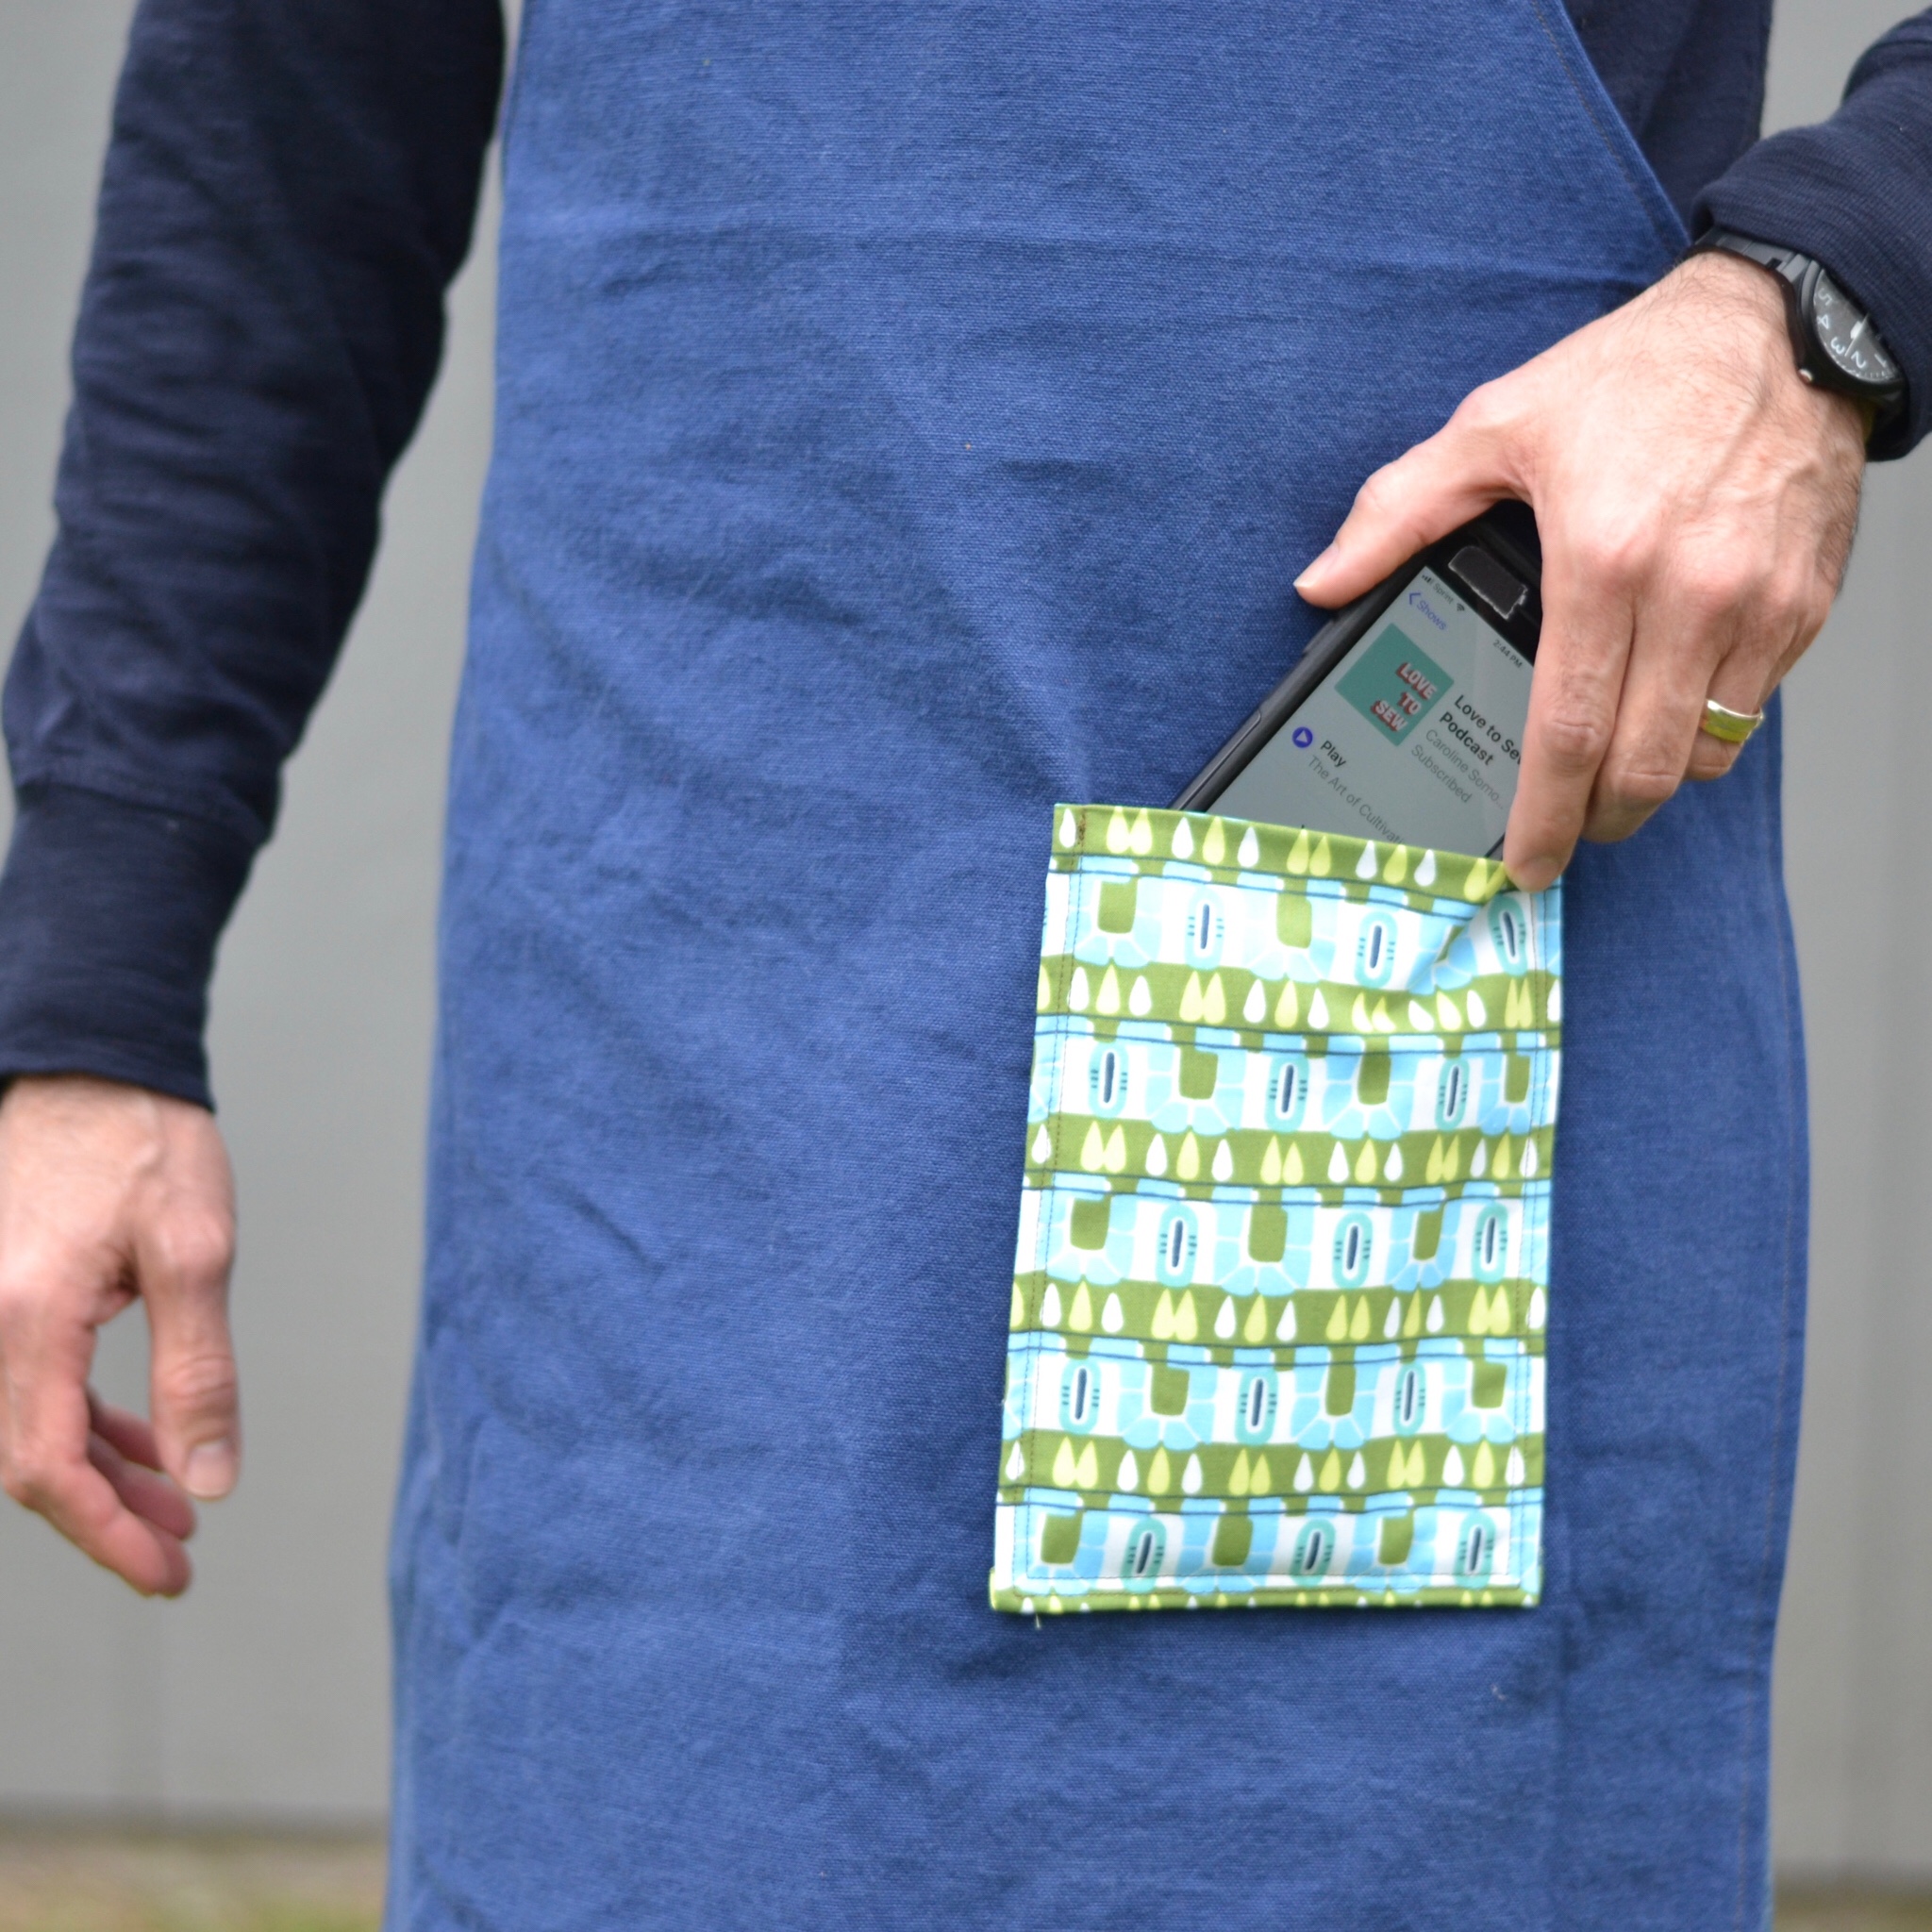
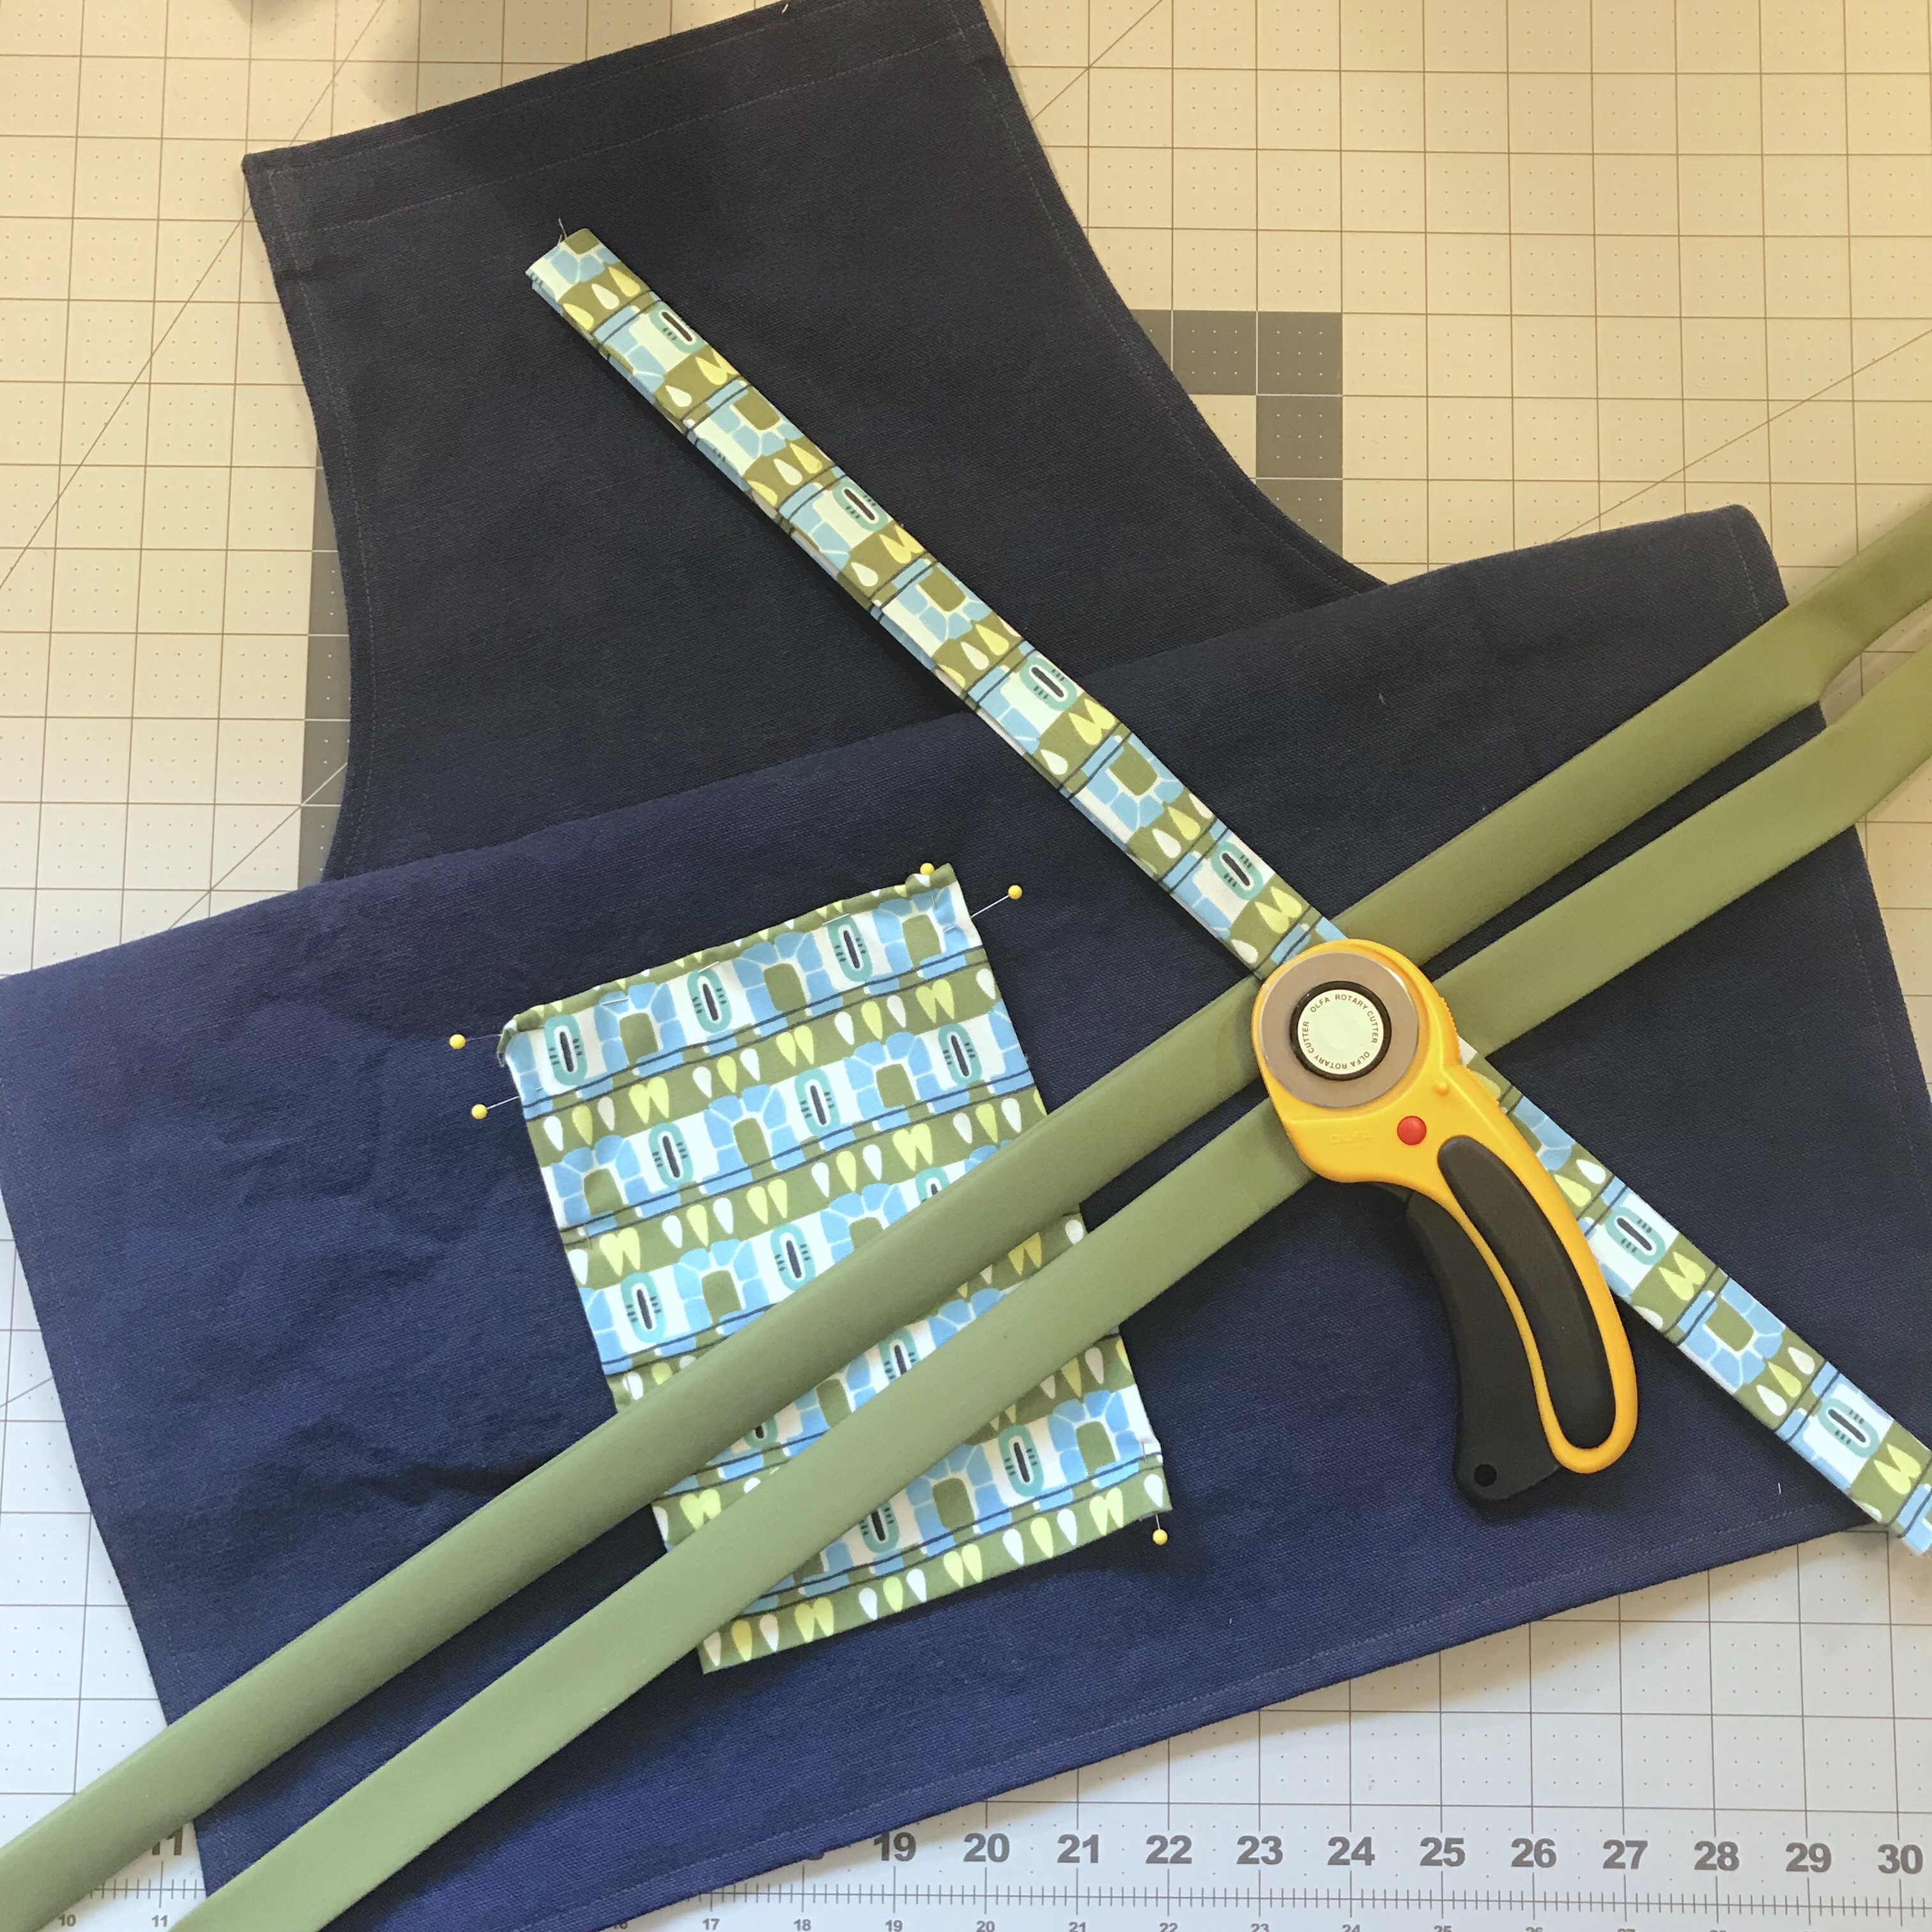
And then to flip-side of spontaneous sewing, I formalized the process of sewing a pillow for the purposes of the Introduction to Sewing class that I’ll be teaching in October.

img_7046

While this is a smaller version of the pillow we’ll be working on in class, I wanted to get the steps down so I’d have an outline to work from while teaching.

Even simple projects like this are so satisfying to work on and complete. If you, or someone you know, is in the Evanston, Illinois area and are interested in taking a sewing class, please join me! You can learn more and register here. Thanks, and see you next time!

Summer Sewing

August’s sewing projects started with a simple but packed-with-meaning zippered tote. @marcbenja generously gifted me a stack of fabrics that he hand-dyed.

img_6850-1

The subtle changes in color and deep hues are the mark of a craftsman who took his time and I greatly appreciate getting to sew with them. In turn, I wanted use them in a meaningful way.

img_6852-1

I wanted to make a gift for Ally, a Rabbi who was providing me and my family with some important and necessary support. For me, this brought the kindness full circle.


I helped Marc, he thanked me with a gift, Ally helped us, I thanked her with a gift using the gift Marc gave me. In the end, using the fabric made an already enjoyable activity even more meaningful.

So here it is, a quilted tote, with a small strap and 10 inch zipper ready to keep Ally’s things neat and tidy…and how could those fabrics do anything other than brighten her day!

The next project was small and fairly quick but is something I’m using every day. @handmadephd created several small zippered packs to keep keys, jewelry and tissue purse packs in. They were so clever in their purpose but also in that they used her small fabric scraps. Scraps too big to throw out but so small…what to do with them?

I decided to take the idea of a tissue pack and remove the pack by making my own out of fabric, and just load it up with tissue from the big boxes at home. Yes, it does mean I have to spend time folding tissues, but to fill this one with ten of ’em took me, oh, about one minute.

I’m far from being zero waste, but I do like to cut down where I can by making small changes as I go. And now I can avoid the plastic baggy that the packs come in from the store and the outer plastic packaging that a pack of packs comes in! Phew…so many words for such a simple project.

The middle two weeks of August, my family and I travelled to see family and friends. While that meant that I didn’t get to sew as much as I’d like, I did have the opportunity to try some crafts that are outside of my wheelhouse. The three of us took a glass-fusing class with Suzanne @designbalestri.

With some simple instruction, she was able to guide us through a couple of projects. I chose to make a sun catcher out of blues and greens. Some were solid pieces and others hand striped or mottled patterns. I also use some crushed up granulated of glass.


It’s amazing what happens to the sharp edges and shapes of the glass after it has been fuse. Everything turns soft and gentle, and at least for this use, the light is so delightful as it passes through the glass. This hangs in the window of my workroom and is such a delightful welcome each day.

Me Made Accessories

img_0017

Last month I mentioned that I started a new hobby: needlepoint. To that end, I wanted to create a tote to take my current project with me to go to some open craft studios in my area. It needed to protect my work, which is mounted to a wooden frame, as well as carry some thread, needles and scissors. And, of course, it had to look good.

img_6440

And while I had plenty of my go-to color palette of fabric to choose from, I decided to incorporate some surface design as well. I like the way the bleach-stained pattern fabric turned out for my Sorrento hat but I wanted to try another technique. For this tote, I used blue fabric paint on a large swatch of mustard-yellow cotton while the rest of the bag is color blocked.

In terms of the bag’s structure, I included a divider down the middle with a layer of Soft and Stable. I feel like this will give the needlepoint canvas a bit of protection…either from the tools on the other side of the divider or an errant knee. I drafted the bag on my own, but was inspired by one of my favorite sewing books by Lotta Jansdotter.

img_0025

Also in May I made an apron. The ones we have in the kitchen are looking kinda ratty and used and aren’t the easiest to use. The chest never seems to cover my shirt properly and the pockets are poorly placed…who puts a pocket right in front of the crotch?

img_0028

Anyway, I still have a lot of the blue canvas in my stash and that was durable enough to fit the bill. I made the straps for the shoulders and waist one long piece and they crisscross in the back so that with one adjustment, my chest and pants are covered properly. I used quilting cotton to make the straps and loops.

img_0026

The pocket—can I point out that it’s off-center—is also made from a novelty quilting cotton that I’ve been waiting to find the perfect application for. It’s sized just right for my phone, or as I call it, my kitchen-timer-measurement-convertor-recipe-holder-entertainment-provider. Since its completion, this apron has been put to good use.

img_6457

My final project for the month was a simple one for a friend. Yoga weights are rip-stop nylon bags filled with ten pounds of sand and are used in restorative exercises for grounding.

They have to be durable, of course, but the rip-stop nylon is kind of scratchy and sort of kills the good yoga vibes. I thought this southwest inspired fabric would make a great slipcover for the weight. It closes with a simple hook-and-loop tape sewn into the top and can be thrown in the wash.

img_6508

I have one project started that I will work on in June. I’m thinking of using this fabric as a pocket on a t-shirt, but stay tuned. Next month it might be something different…reverse applique?